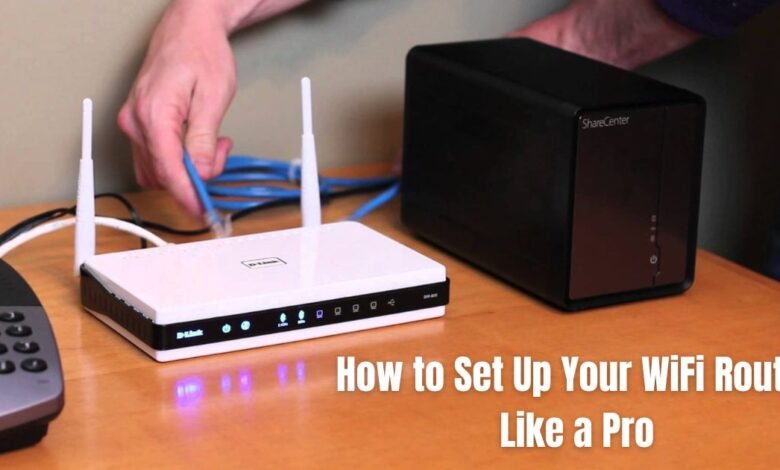
Setting up a WiFi router can seem daunting for some, but with the right steps, you can easily configure your router to ensure maximum performance and security.
Whether you’re a tech newbie or an experienced user, this step-by-step guide will walk you through how to set up your WiFi router like a professional, ensuring reliable internet coverage throughout your home or office.
1. Choose the Right Location
Before diving into the configuration, consider the physical placement of your router. The location can significantly affect your signal strength and overall WiFi performance. Here are some tips for the ideal placement:
- Central Location: Place your router in the middle of your house or apartment for the best coverage.
- Avoid Obstacles: Avoid placing the router near thick walls, metal objects, or microwaves, as they can disrupt signals.
- Elevated Position: Try positioning the router on a high shelf or a top table to reduce obstructions and interference.
2. Connect Your Router to the Modem
Once you’ve found the perfect location, the next step is connecting your WiFi router to the modem. Most routers will have marked ports, typically labeled “WAN” or “Internet.”
- Plug one end of the Ethernet cable into the modem’s Ethernet port.
- Plug the other end into the WAN port of your router.
3. Power Up Your Devices
Now it’s time to power on both your modem and router:
- Turn on the modem and wait a few minutes for it to connect to your internet service provider (ISP).
- Once the modem is fully powered up, turn on the router. Wait until the power and internet connection lights become stable.
4. Access the Router’s Configuration Page
Every router comes with a built-in web-based interface that allows you to manage its settings. To access this configuration page:
- Open a web browser (like Chrome, Firefox, or Safari) and type in the default IP address of your router into the browser’s address bar. Common addresses are usually
192.168.1.1or192.168.0.1. This information is often found on the router’s label. - When prompted, enter the default username and password to log in (often “admin” for both username and password). Again, you can check your router’s label for these details if needed.
5. Set Your Network Name (SSID)
The next step is to set up your network name (SSID). Your WiFi network name is what devices will search for when connecting to your internet.
- Go to the Wireless Settings or WiFi Settings section.
- Change the SSID to something unique, which will help you easily identify your network.
- Make sure the name doesn’t contain any personal information such as your full name or address for security reasons.
6. Secure Your WiFi Network with a Strong Password
One of the most important steps in setting up a router is ensuring your network is secure. Choose a strong and complex password for your WiFi, one that includes uppercase and lowercase letters, numbers, and symbols. Follow these tips:
- Set a WPA2 or WPA3 encryption type for maximum security.
- Avoid using easy-to-guess passwords like “12345678” or “password.”
- Write down your WiFi credentials in a safe place for future reference.
7. Configure Your Router’s Advanced Settings (Optional)
For users who want a more customized experience, routers come with various advanced settings that can be adjusted for specific use cases. These may include:
- Setting up a Guest Network: Create a separate network for guests to protect your main network’s security and bandwidth.
- Adjusting Channel Settings: In crowded WiFi environments, changing the WiFi channel can improve signal quality.
- Setting Parental Controls: Restrict specific sites, set screen time limits, or schedule internet access for certain devices.
8. Update Your Router’s Firmware
It’s always a good idea to check if there’s a firmware update available for your router. Router manufacturers often release firmware updates to improve performance or security.
- Navigate to the Firmware Update section in the router’s settings.
- Follow the prompts to update to the latest version if an update is available. Avoid interrupting the process while it’s ongoing.
9. Connect Your Devices
Now that your router is set up, it’s time to connect your devices to the network. Here’s how:
- Search for your network’s SSID on your phone, laptop, or tablet.
- Select your WiFi network and enter the password you created earlier.
10. Test Your Connection
To ensure everything is working as expected, run a speed test using any online service (like Speedtest.net). Verify the speeds match the speeds promised by your internet service plan.
If your speeds are slower than expected, consider optimizing your router’s placement or configuring settings like Quality of Service (QoS) to prioritize critical devices.
Conclusion
Setting up your WiFi router might sound complicated, but by following these straightforward steps, you can ensure a fast and secure internet connection.
From choosing the right location and securing your network to updating firmware and connecting devices, this professional setup will get you up and running in no time. Enjoy hassle-free WiFi across your entire home or office! For more Home Internet-related information check the nowinternet.


